
1.环境设置
GIT
略
Node.js
略
Gatsby CLI 安装
npm安装 npm i -g gatsby-cli
查看版本 gatsby --version
2.部署首个静态站
示意图
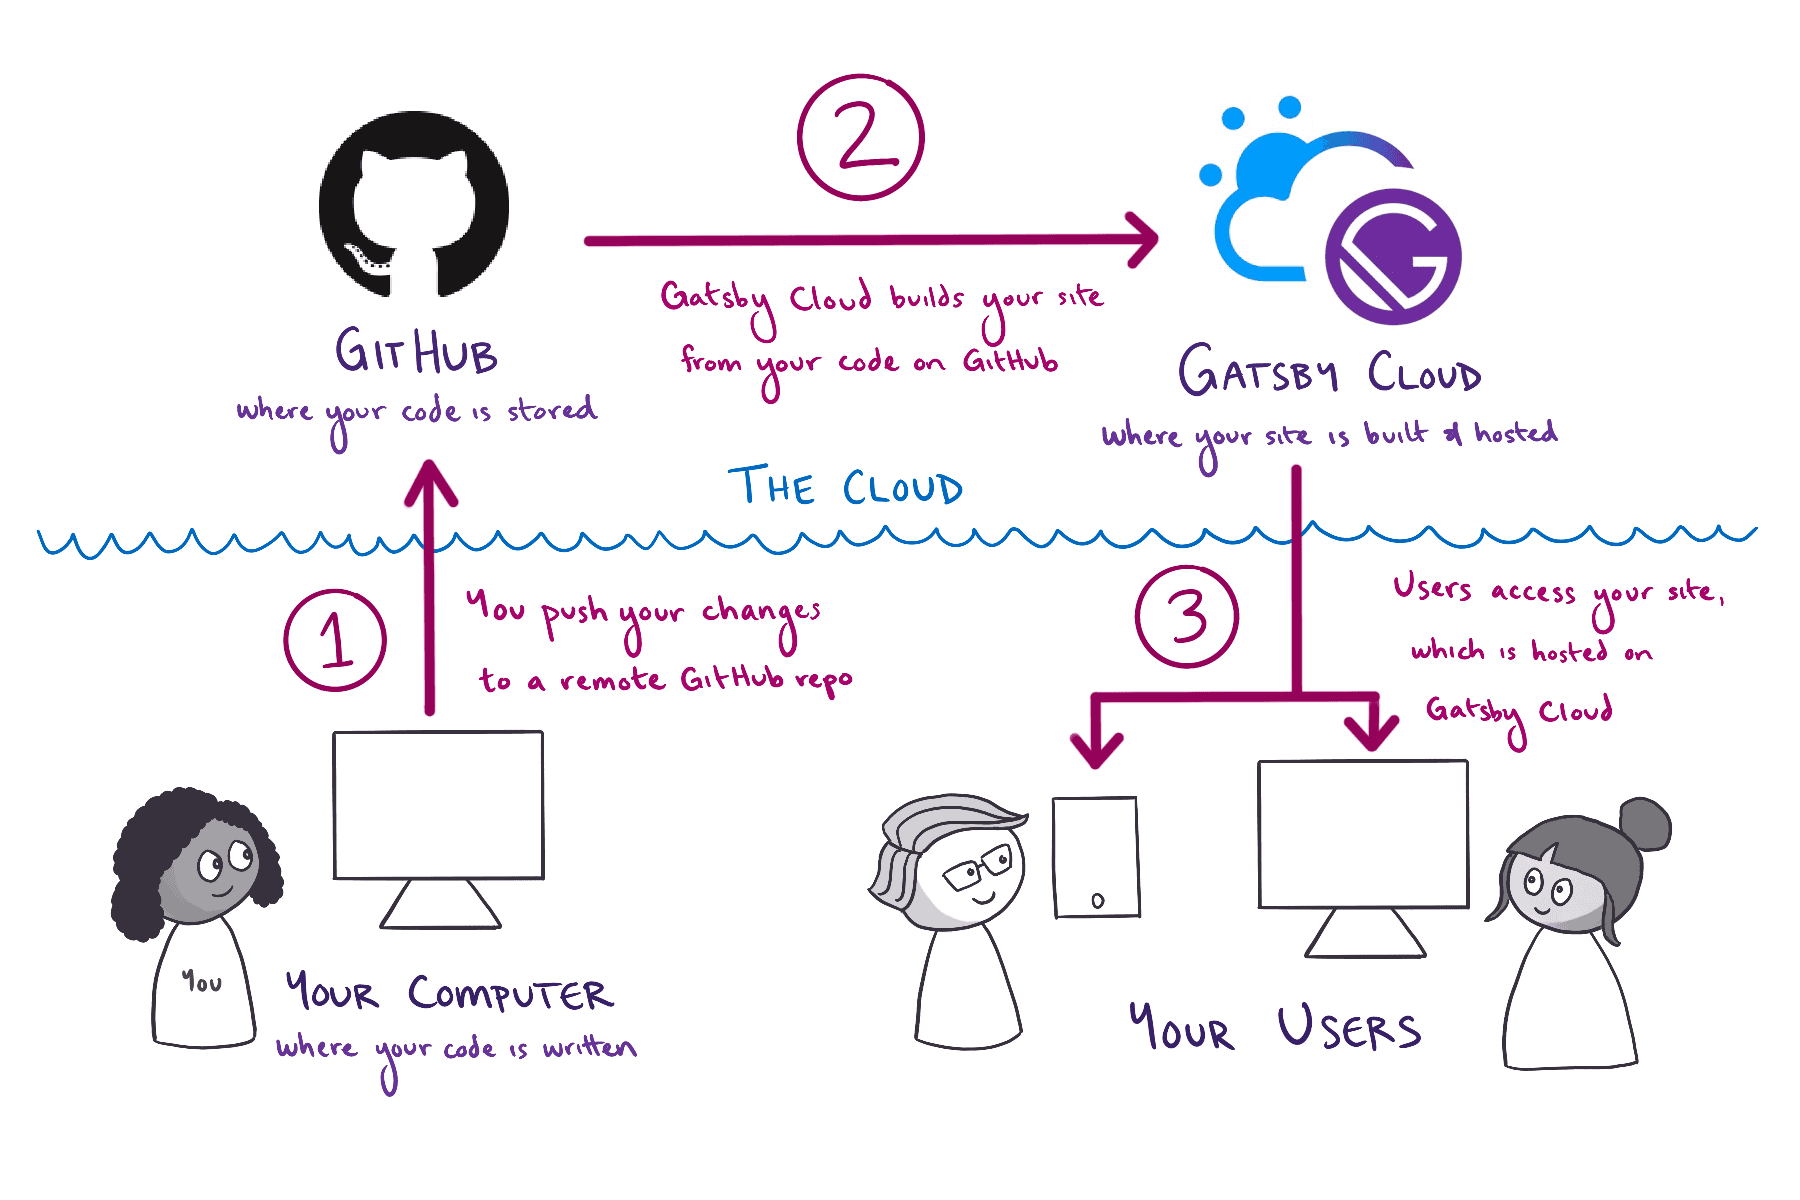
新建Gatsby站点
gatsby new,按要求输入站点信息,输入站点名称和文件夹路径后,其他选项先选No(或者稍后添加),完成之后,gatsby会生成必要的文件
本地运行
进入创建的文件夹下,运行命令gatsby develop,(也可以使用npm等:npm run develop)
如果一切正常的话,本地服务将会成功运行在8000端口
1 | You can now view my-first-gatsby-site in the browser. |
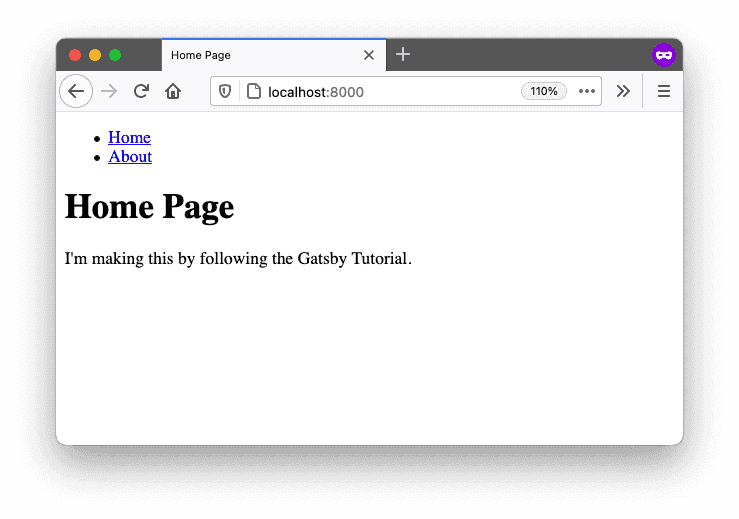
打开浏览器,转到http://localhost:8000,可以看到我们的第一个gatsby页面: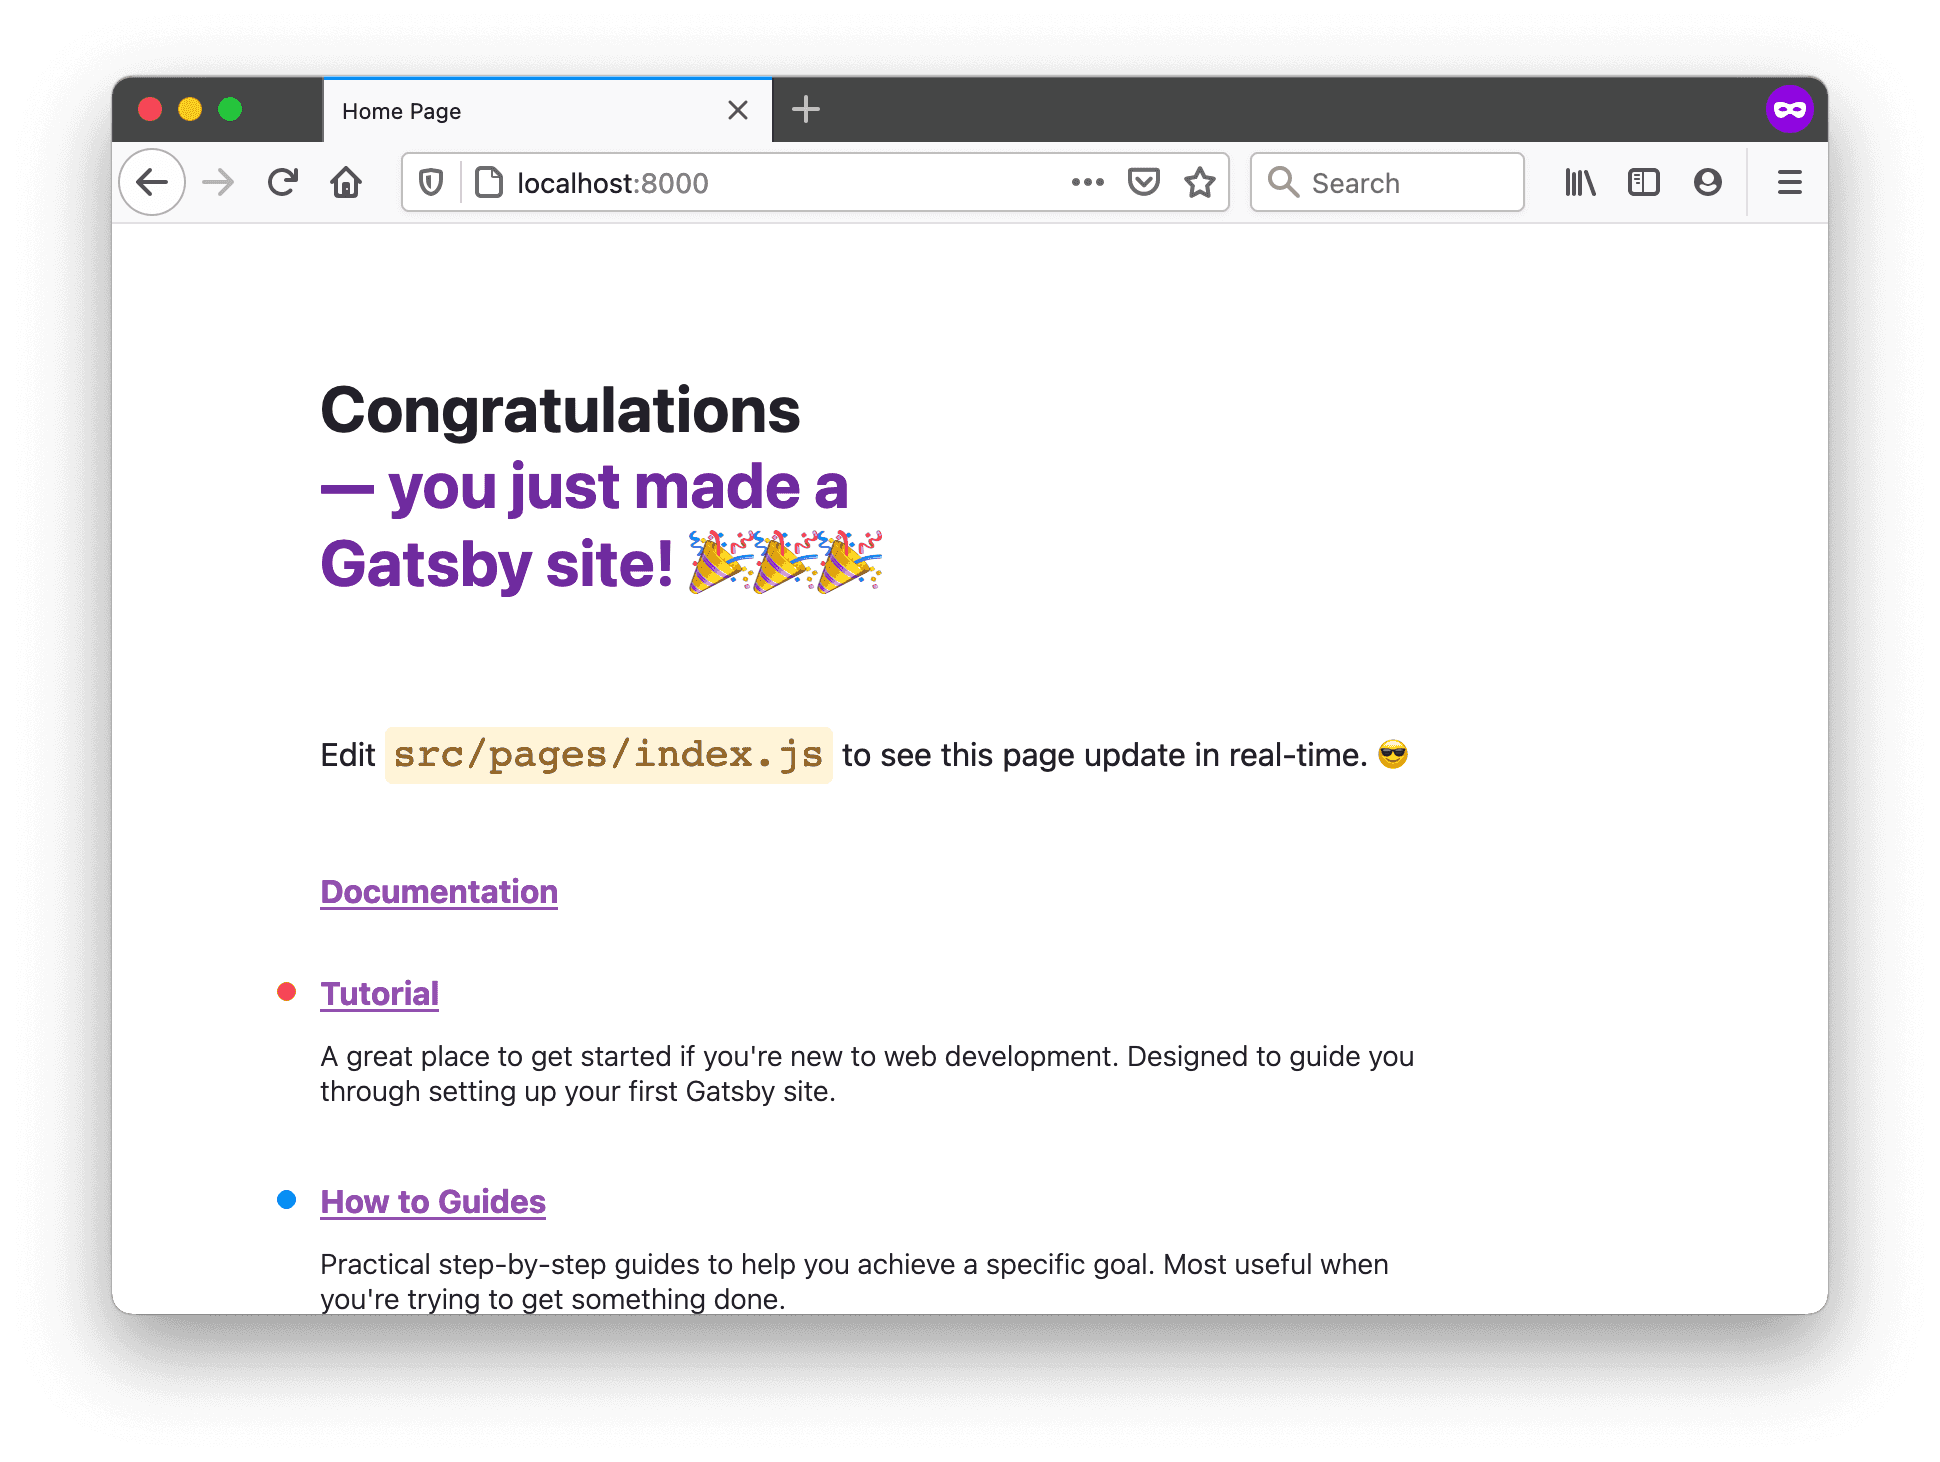
把本地代码上传到Github
命令行或者Github网站内把本地代码push上去
1 | git remote add origin https://github.com/YOUR_GITHUB_USERNAME/YOUR_GITHUB_REPO_NAME.git |
连接Github Repo和Gatsby Cloud
前往Gatsby Cloud首页添加站点,按提示输入信息就行
使用React
新建页面
在src/pages下新建一个页面文件about.js
1 | // Step 1: Import React |
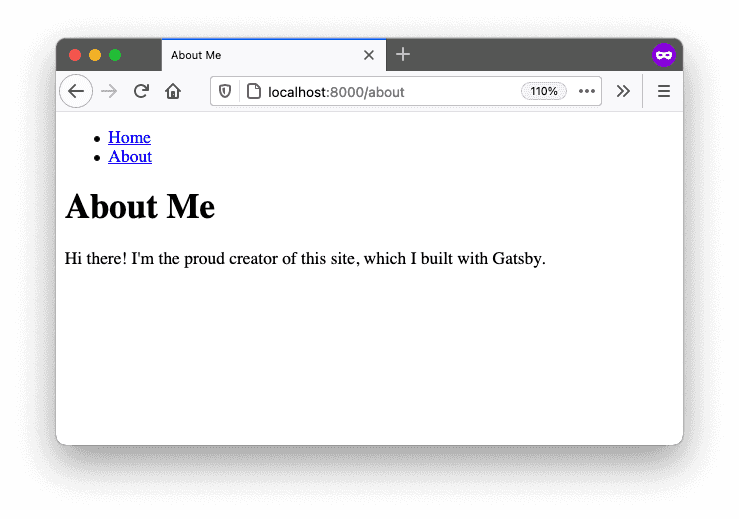
然后访问localhost:8000/about,可以看到成果: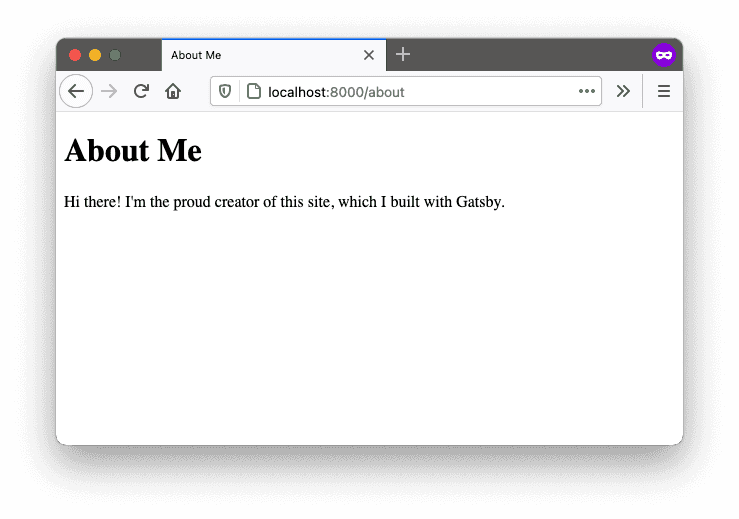
src/pages文件夹下的js文件会对应文件名称生成页面路由,例如新建mine.js文件,域名/mine将会展示文件对应页面
使用Link组件
新建的页面在GATSBY中被称为Page组件,我们需要了解下其他的被称为“积木”的组件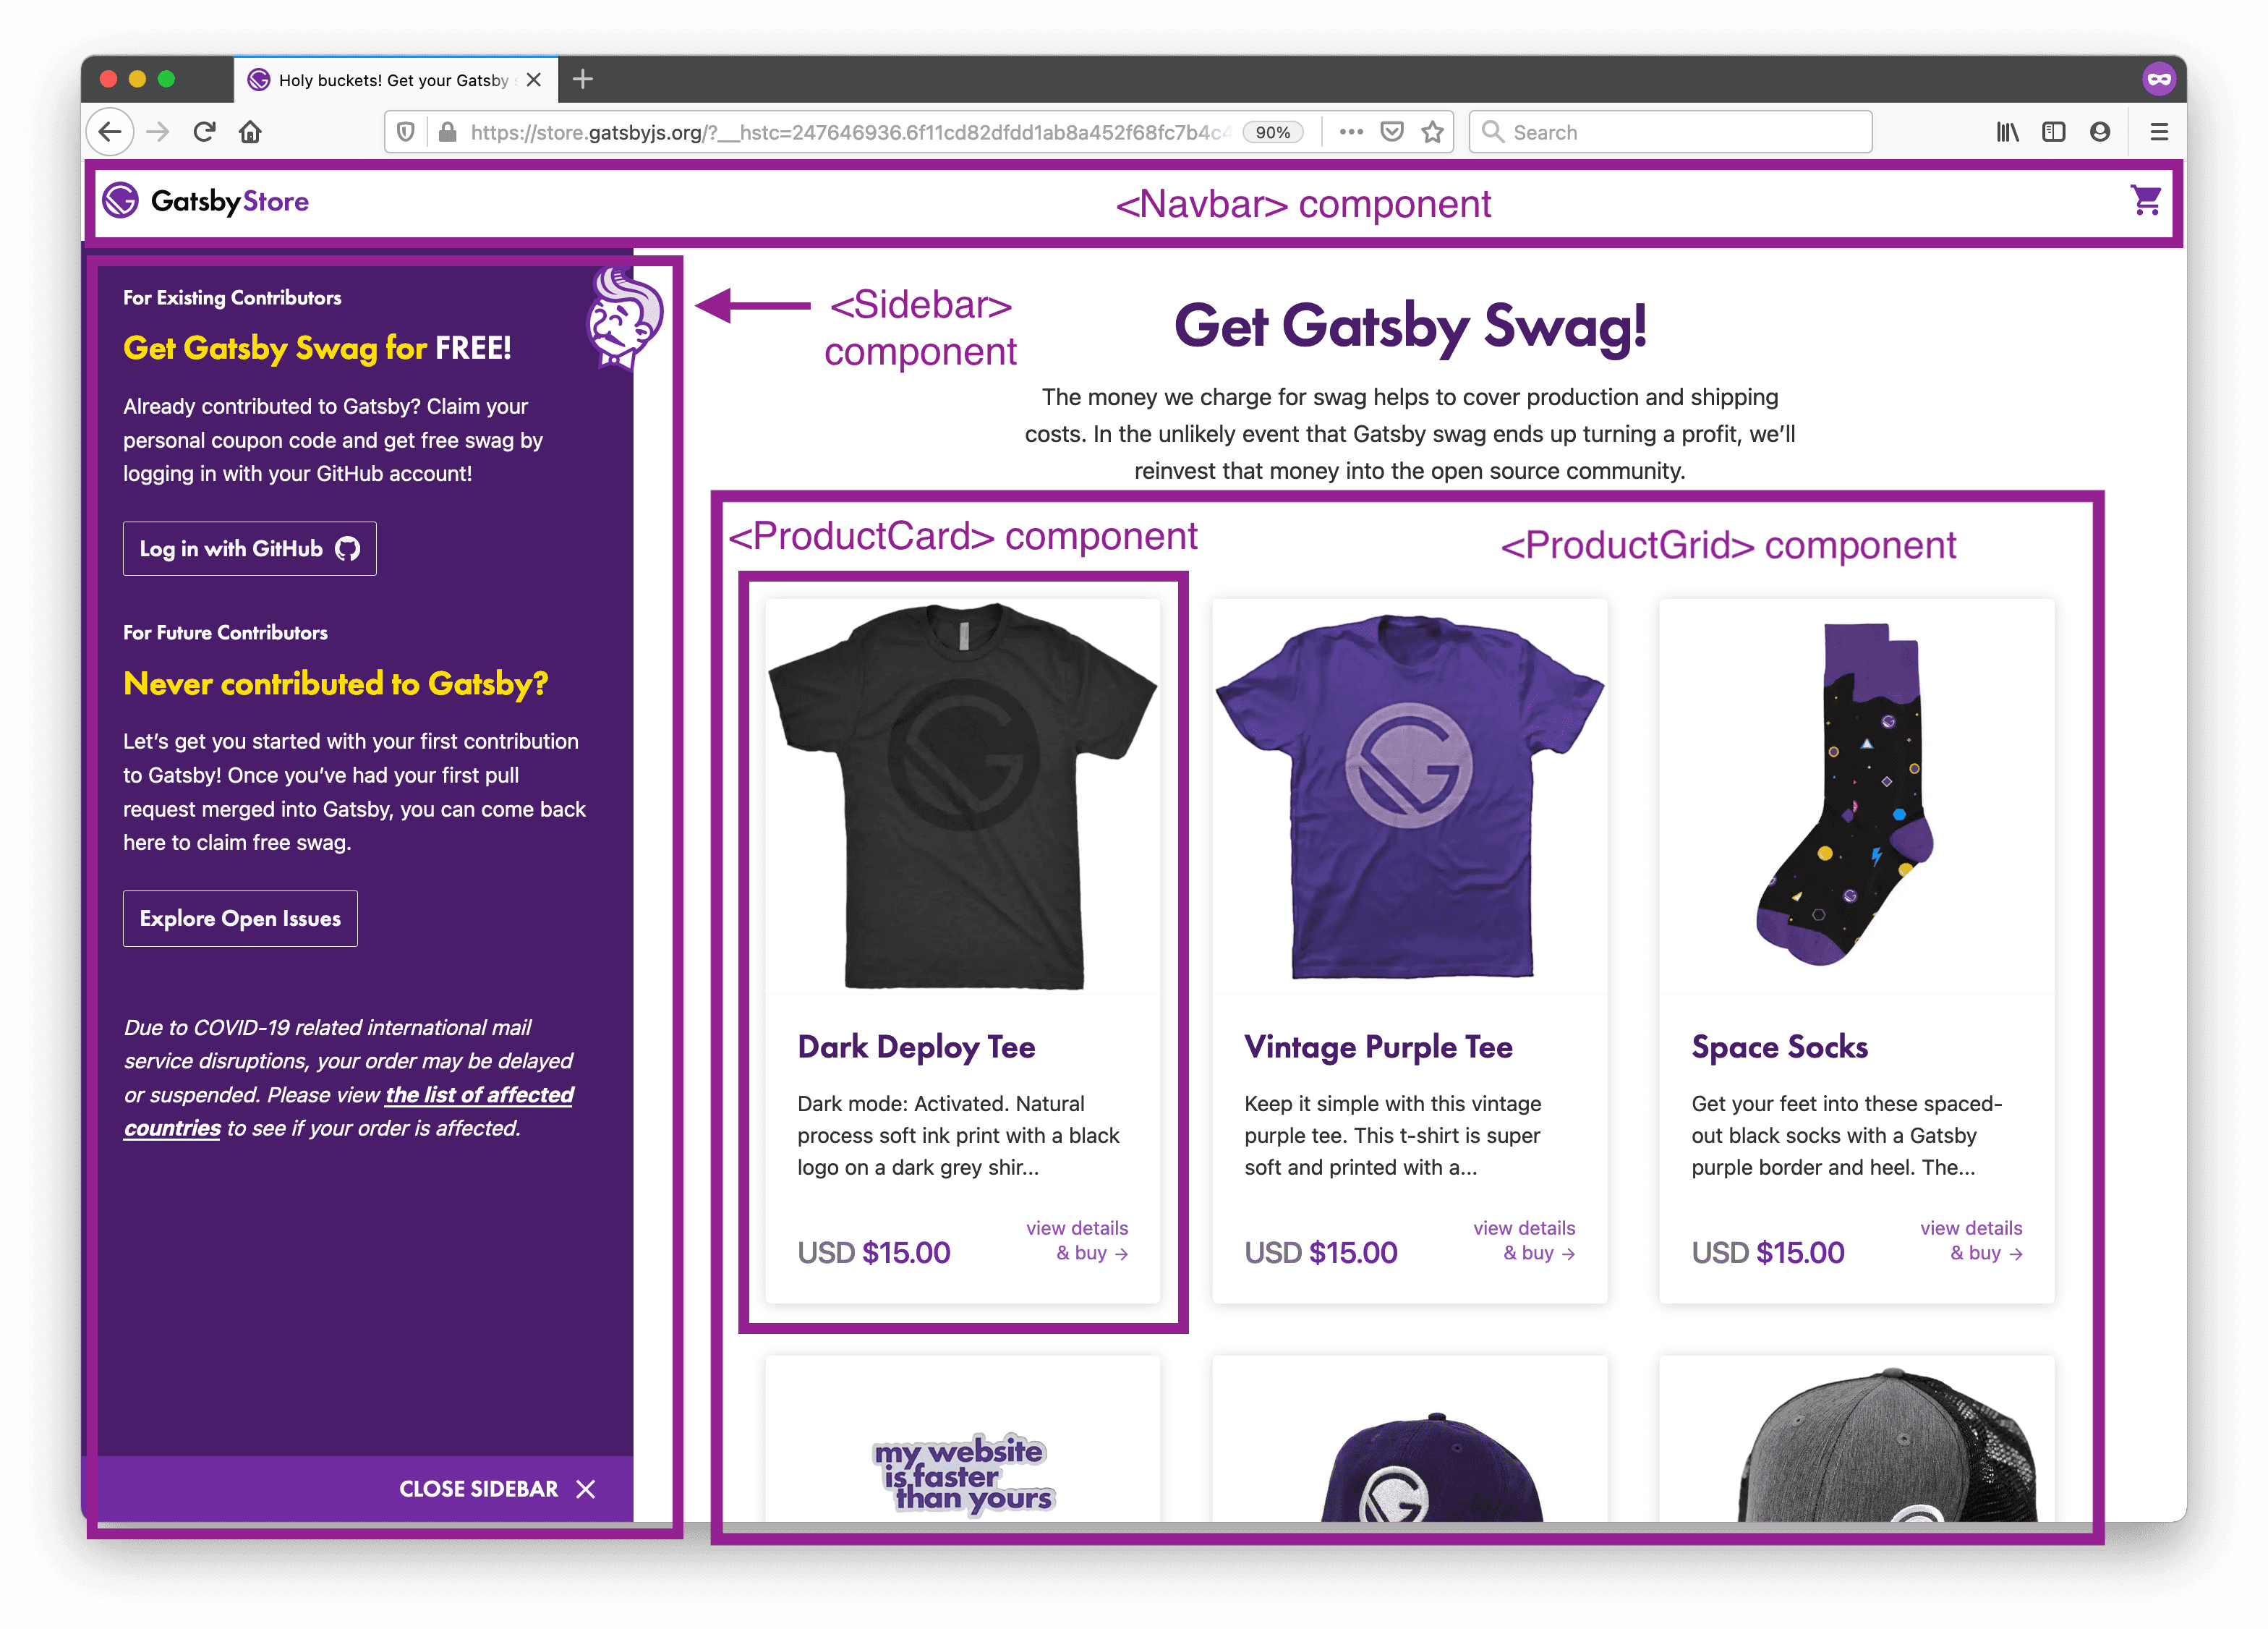
上图中NavBar/ProductCard等都可以称为积木组件(Building-Block Components),这些组件我们可以在站点其他地方复用
Link组件是Gatsby内建的组件,类似于Html中的<a>标签,Link带有to属性,类似于a标签的href,但是它接收页面path(比如我们上文中建的/abort)
创建可复用的布局组件
在实际网站中有些页面需要复用固定的布局,比如多个页面相同的导航栏、侧边栏、底边栏,可以抽取Layout组件来复用
带children的组件:
1 | <Link to="/"> |
我们在src/components/layout.js创建我们的组件
1 | import * as React from 'react' |
更新下我们的首页文件:
1 | import * as React from 'react' |
更新下about页面:
1 | import * as React from 'react' |
使用CSS Module为组件添加样式
我们为layout组件添加一些css样式
1.首先新建一个src/components/layout.module.css文件
2.添加一个container类
1 | .container { |
3.在layout.js中导入
1 | import { container } from './layout.module.css' |
设置className:
1 | import * as React from 'react' |
3.使用插件添加额外功能
插件库地址: Gatsby Plugin Library | Search 2500+ Plugins | Gatsby (gatsbyjs.com)
插件配置文件:gatsby-config.js
- 在 Gatsby 术语中,插件是一个单独的 npm 包,您可以安装它以向您的站点添加额外的功能。
- 有各种各样的插件,每个插件都有不同的用例。一些插件提供预先构建的组件,其他插件添加分析,其他插件允许您将数据提取到您的站点。一些插件由 Gatsby 员工构建,而其他插件由社区成员构建和维护。到目前为止,有超过 2,600 个插件可供选择。您可以使用 Gatsby 插件库浏览所有可用的插件。
插件安装方法:
1.使用npm等工具安装
2.在gatsby-config.js文件中修改配置
3.根据需要使用您网站中的插件功能。
举个例子:
首先npm install gatsby-plugin-image gatsby-plugin-sharp gatsby-source-filesystem
然后添加gatsby-plugin-image、 gatsby-plugin-sharp到配置文件:
1 | module.exports = { |
最后就可以在项目中使用StaticImage组件了
The
StaticImagecomponent requires a few additional plugins to work. These extra plugins are called peer dependencies, and you’ll need to install them along with thegatsby-plugin-imagepackage:
gatsby-plugin-sharp: Handles the actual image processing that is used bygatsby-plugin-image.gatsby-source-filesystem: Lets you pull in data from your computer’s filesystem. (You’ll learn more about this plugin later. Just install it for now.)
Tip: When adding a new plugin to your site, check the plugin README in the Gatsby Plugin Library to see if there are any special setup instructions.
- StaticImage 的src属性支持url和本地路径
4.在项目中使用GraphQL
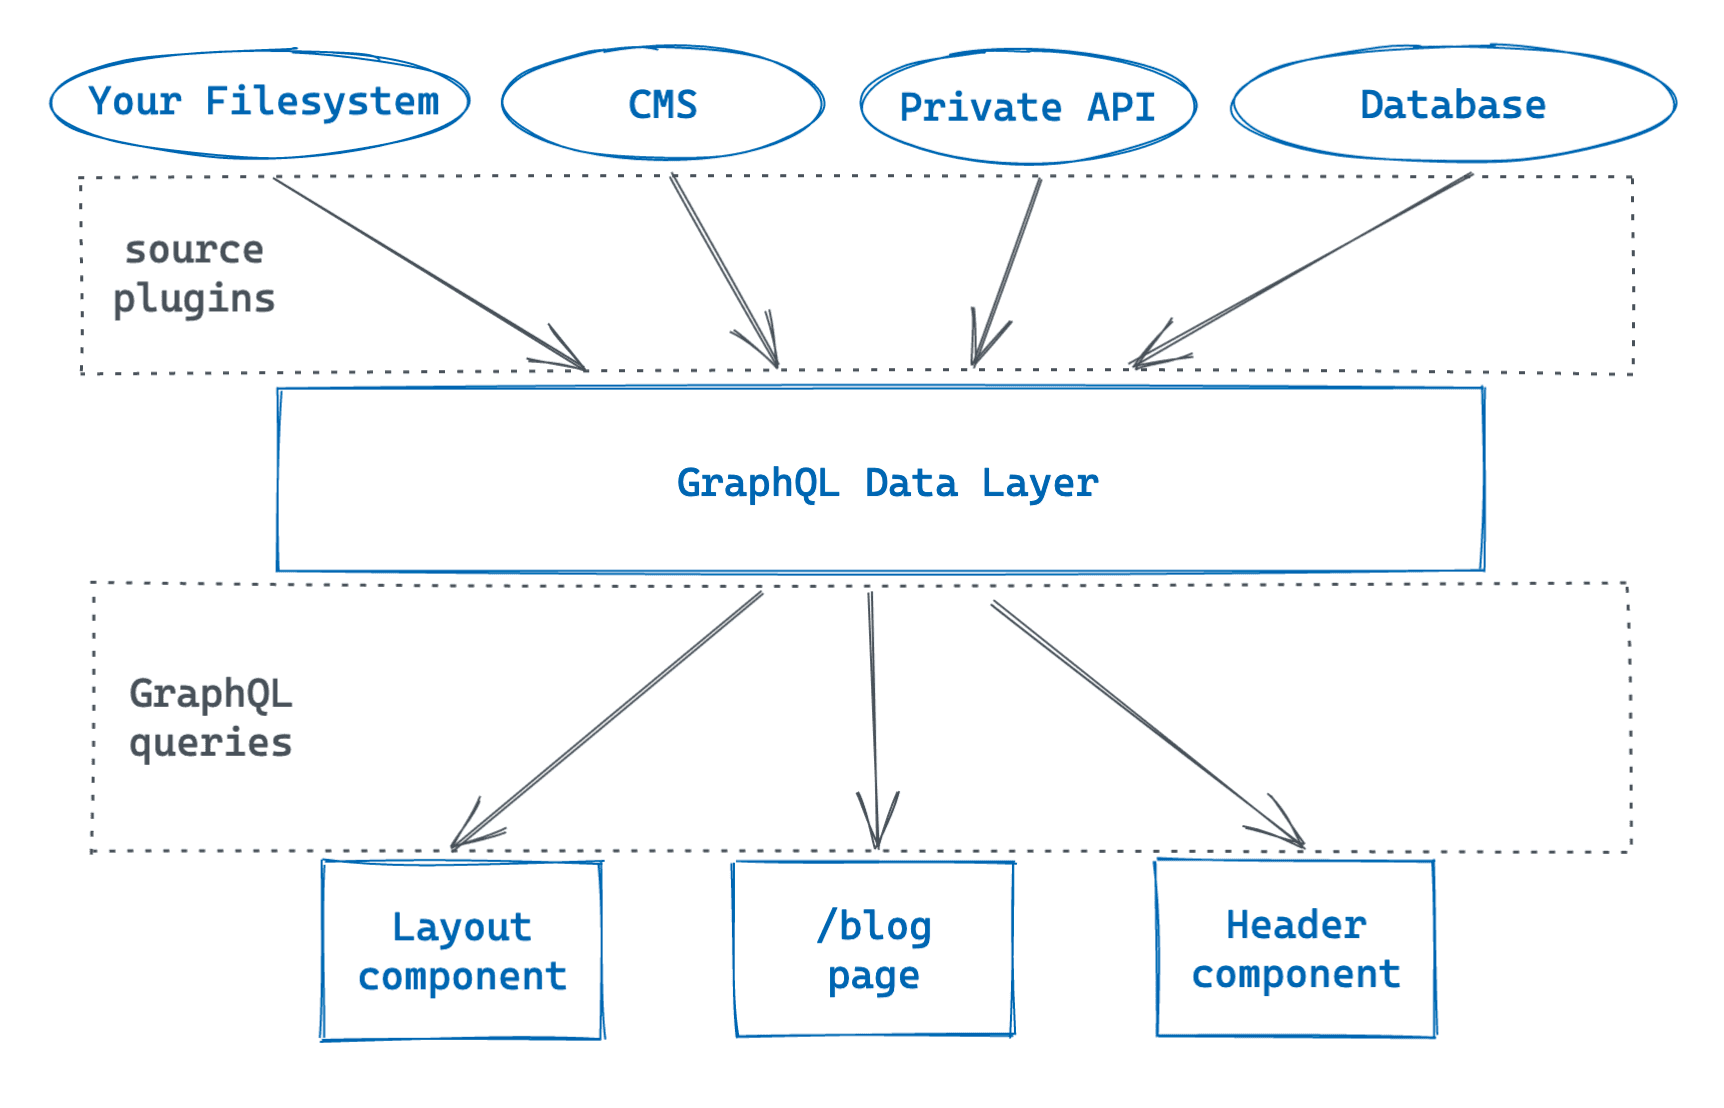
首先,GATSBY的数据储存在一个或多个数据源内,数据源可以是本地的文件夹,也可以是像WordPress这样的CMS系统,或者是普通的数据库。
首先需要添加source plugin,每个source plugin都旨在与特定源进行通信。当您构建站点时,每个source plugin都会从其特定源中提取数据并将其添加到您站点的 GraphQL 数据层。(数据源插件基本都是gatsby-source-开头的,可以去插件库搜索下)
当您为您的站点启动本地开发服务器时,Gatsby 会自动创建一个特殊的端点,让您可以使用名为 GraphiQL 的浏览器内工具。使用 GraphiQL,您可以探索站点的数据并构建 GraphQL 查询。http://localhost:8000/___graphql

左边是Explorer,中间是查询编辑器,右边是查询结果
我们试着查询下gatsby-config.js中的数据:
1 | query MyQuery { |
点击播放按钮得到结果:
1 | { |
然后我们试着吧查询放到Layout组件里去:
首先导入所需的
import { Link, useStaticQuery, graphql } from 'gatsby'使用useStaticQuery查询:
1
2
3
4
5
6
7
8
9
10
11
12
13
14
15
16
17const data = useStaticQuery(graphql`
query {
site {
siteMetadata {
title
}
}
}
`)把数据放到header里
1
2
3<title>{pageTitle} | {data.site.siteMetadata.title}</title>
<header>{data.site.siteMetadata.title}</header>